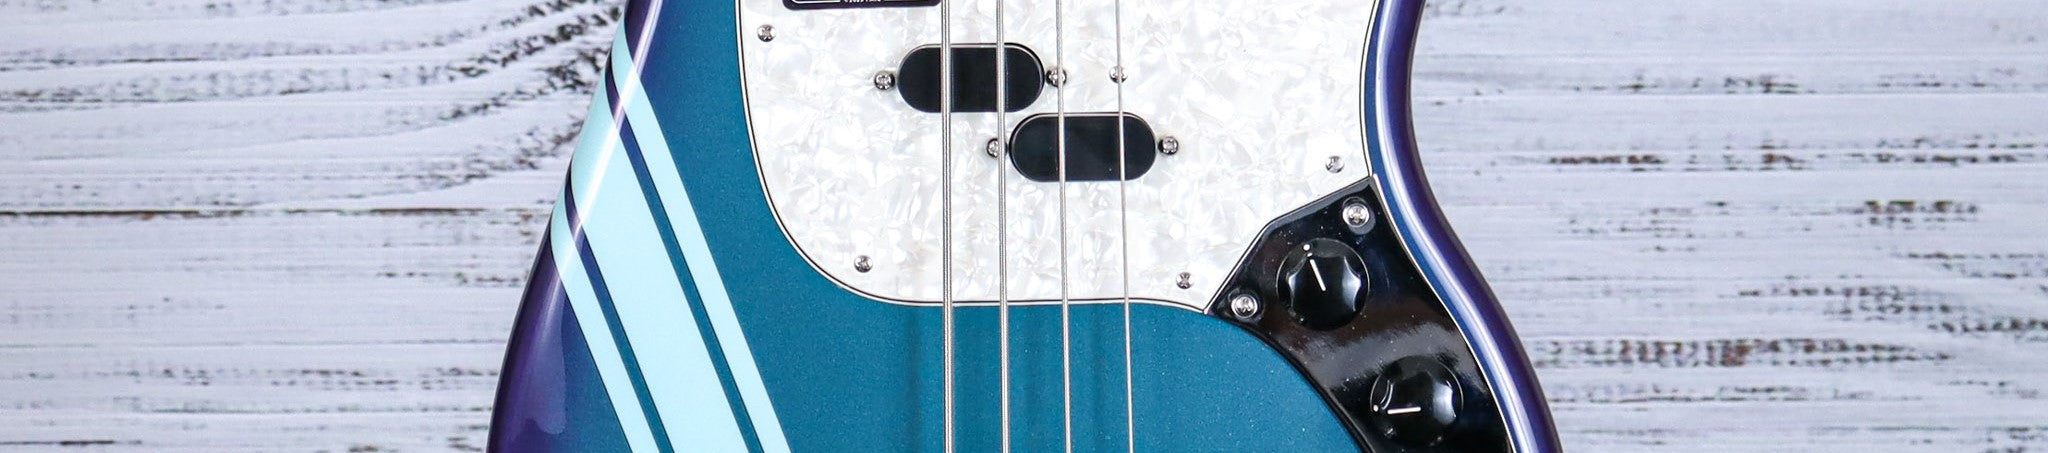
5 Maintenance Tips Every Guitarist Should Know
5 Tips For Guitar Maintenance
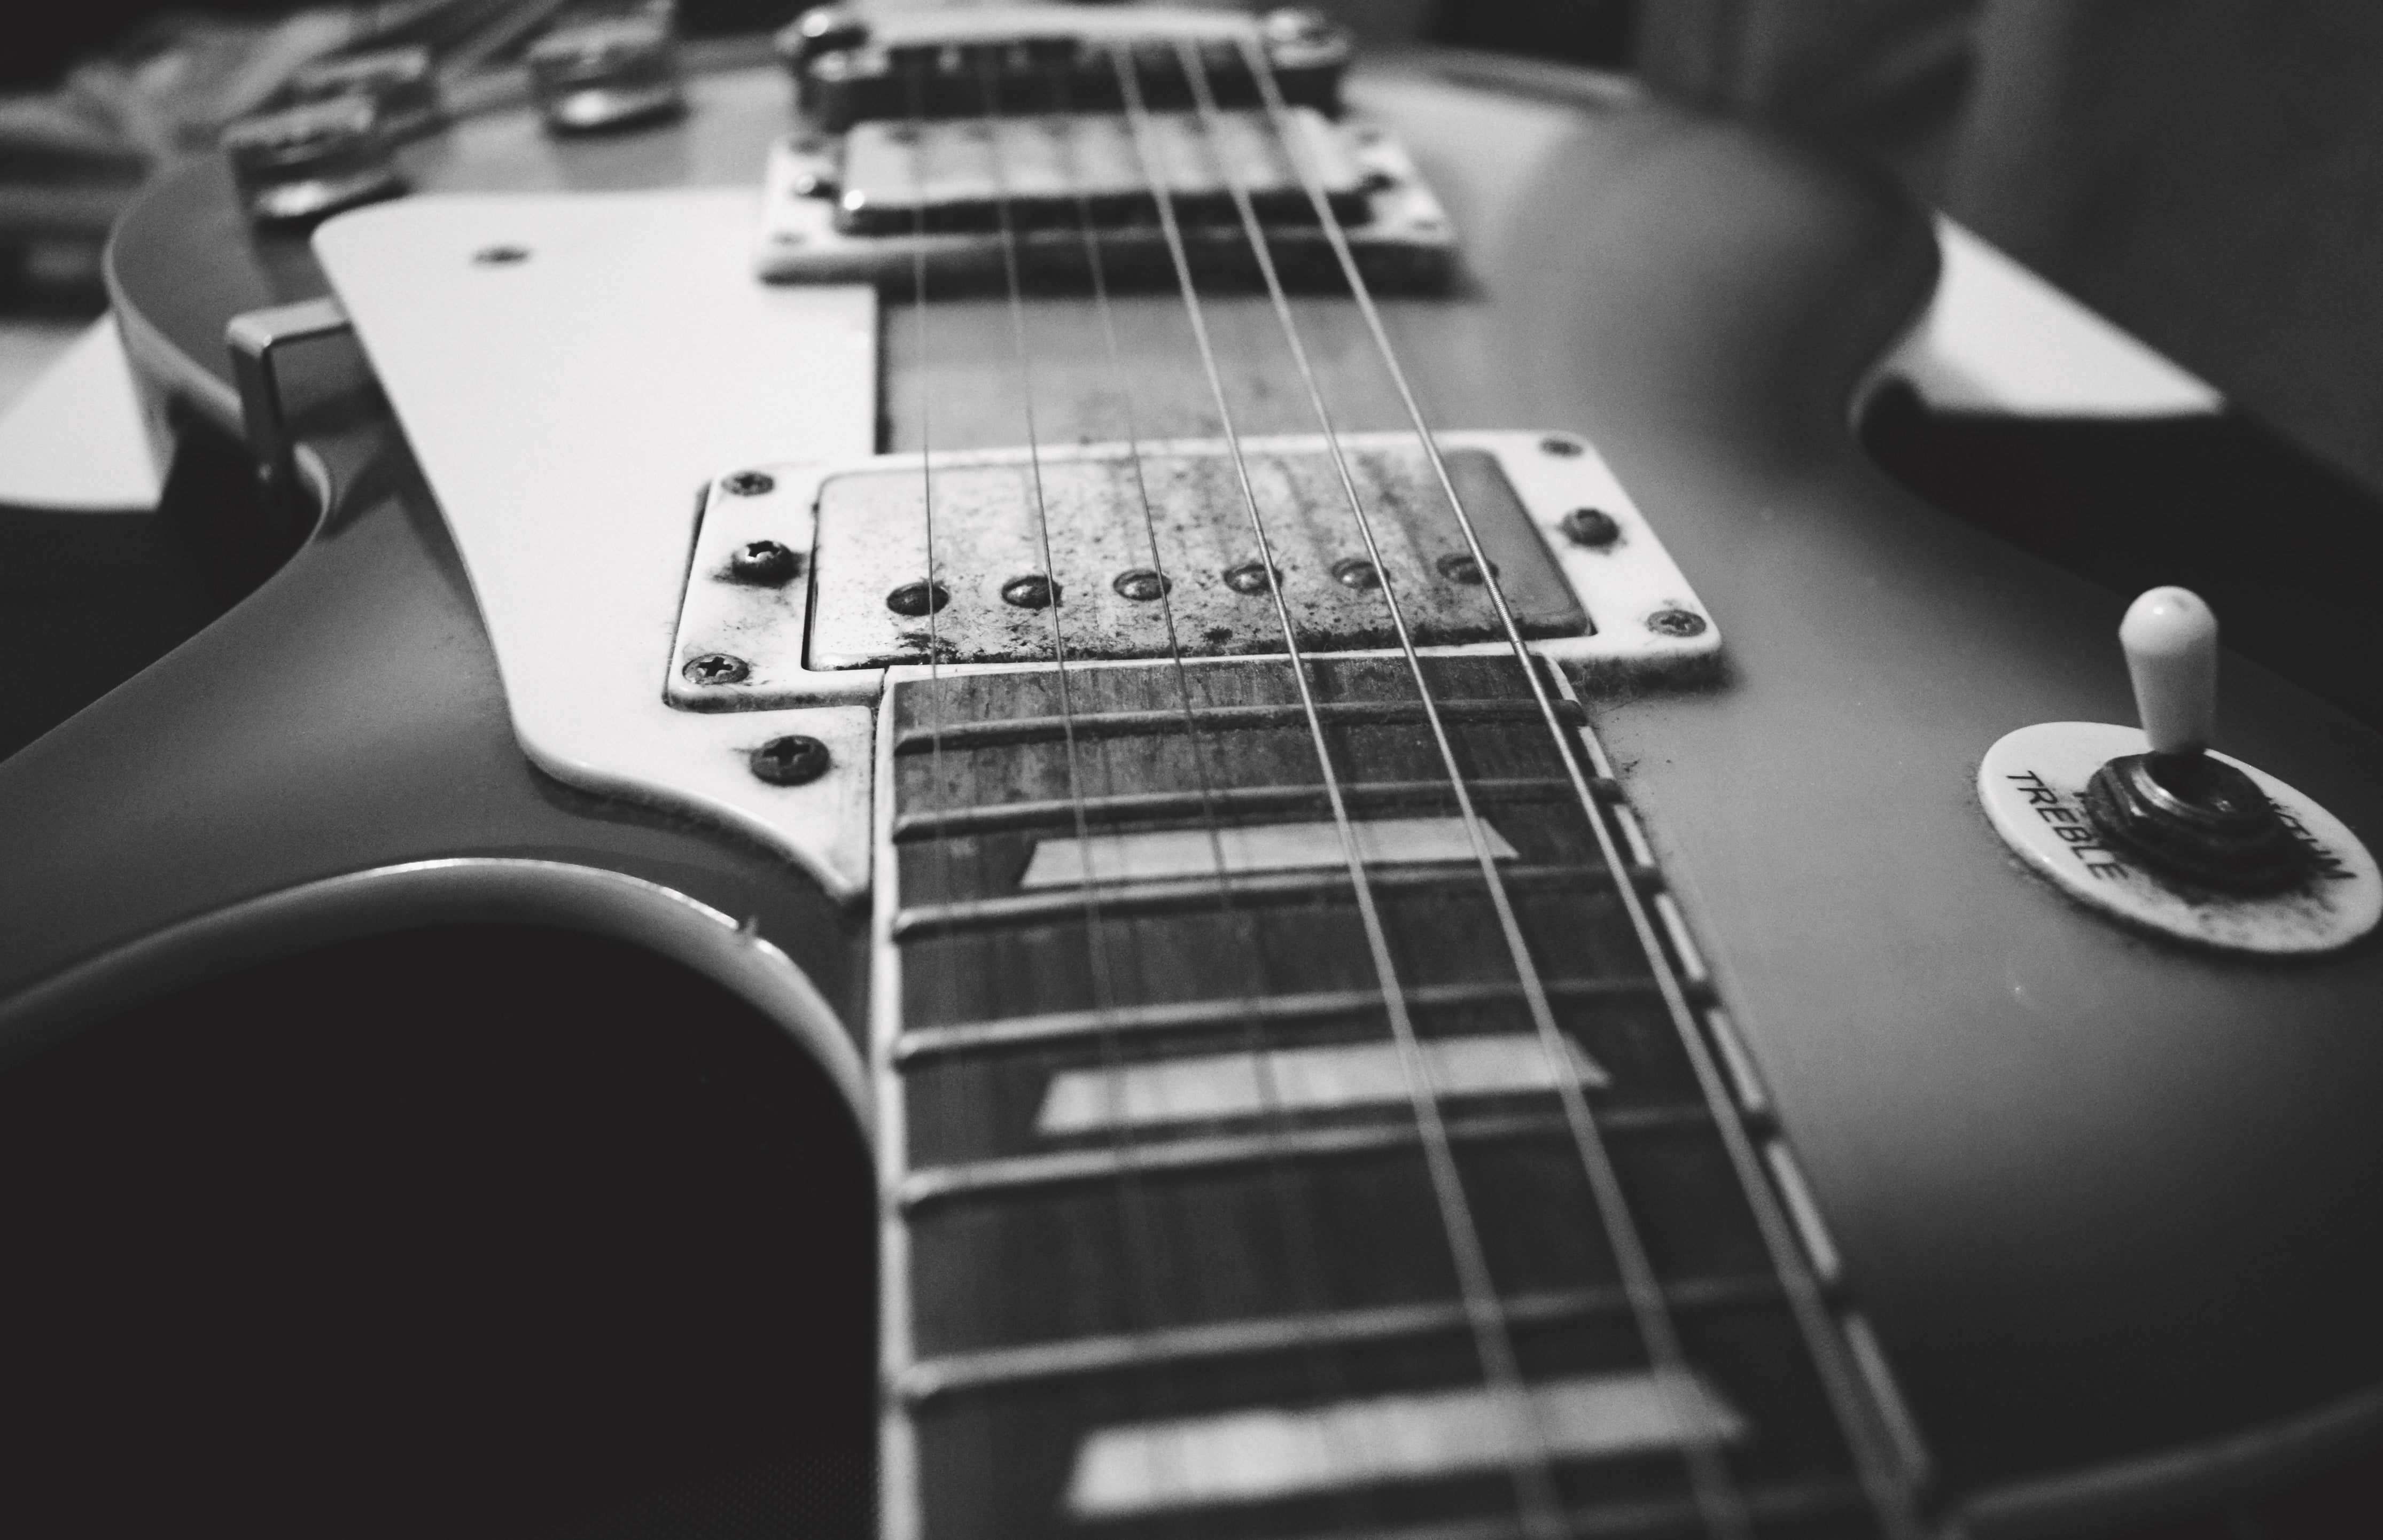
Oil Fretboard/Steel Wool
Ok cue all of the steel wool hate comments now! I get it steel wool leaves tiny little pieces behind if you dislike that just skip this part then, use a towel or your finger. You can use your toothbrush for all I care (sarcasm sign) but please don't brush with it after! I like 000 steel wool and so does our shop because it's the right balance of abrasiveness.
You will also need some oil for the fretboard. Music Nomad has some great products. Some swear by pure lemon oil while others swear by orange oil. I personally use Pledge Revitalizing oil (not cleaner). All of these options will get the job done.
The best time to clean and oil is during a string change. To state the obvious, it's hard to clean your fretboard with strings in the way, so do this when the strings are off your guitar.
Back to the process... We have the steel wool and the oil. Go ahead and put the oil right on the steal wool. The amount of steel wool should be about the width of the fret-board and approximately the same width. Then apply pressure to the fret wire back-and-forth across the neck. The goal here is not to apply the pressure to the wood but to polish the fret and the oil will get on the fret-board by default. Use your fingers or a paper towel to rub in any extra oil, let set for a minute or two. The drier the wood is, the longer you should let the oil sit. You might be surprised how much oil will be absorbed. When you're ready, wipe off the excess, a paper towel or shop rag will work great for this.
It is important to note this technique is for unsealed necks like Rosewood or Rosewood substitutes like PauFerro or Ebony. It should not be used on sealed necks like Maple or Wenge (rare).
Clean Guitar Using Water and Shop Rag
Dunlop, Planetwaves/D'Addario, Music Nomad and about every guitar manufacturer that makes guitar polish is going to hate me for this next statement. Every single company mentioned makes a killer product! But cleaners and polishes can build-up over time and possibly deteriorate certain types of finish over time. I learned from working in our shop, and from personal experience that 9-out-of-10-times water on a Blue Shop Rag (squeezed out so it's not dripping) is the best way to clean a guitar.
This is perfect since we just talked about getting it all oily in the section above! So now you can put this to test on the back of the neck and body where some of the steel wool and oil may have gotten away from you! Please do avoid the fret board that you just oiled.
Tighten Tuning Machines and Hardware
A really good time to check and adjust hardware is when you have the strings off. A mistake we all can make though is over-tightening the hardware. It is inevitable that something is going to work it's way loose. A guitar is meant to vibrate after all. Even if a certain piece of hardware is a repeat offender resist the urge to crank down on it. If you do there is a big chance you could strip threads, break pieces of hardware all together and in some cases even break structural parts of the guitar making repairs time consuming and pricey.
TrussRod Adjustment
The purpose of the truss rod is to keep the guitar's neck nice and straight. As seasons change, temperature and humidity might cause the neck to bend one way or the other causing high action or fret buzz. A simple adjustment to the truss rod will usually take care of this.
Unfortunately this is a topic that a lot of players shy away from for fear of ruining their guitar for life. Sure you could make things worse. We have heard a few horror stories from customers. But these are people that probably don't know what end of the screwdriver is the pointy end. If you're comfortable using an allen wrench and understand that less is more, this process is pretty simple and danger free. Using the correct size allen wrench is by far the biggest concern. To small and you may strip out the truss rod nut... not good. Most guitars will come with a set of allen wrenches or other tools. Don't throw those away, they are there for a reason. Use Them!
On most guitars the truss-rod adjustment nut is located under a cover at the top of the head-stock. You will need a small screw driver to remove this cover.


Some guitars may have the adjustment on the heel of the neck. Check in the sound-hole if it's an acoustic.

If it's an electric you may need to remove the neck to make the adjustment... which is a pain in the butt. Thankfully most modern guitar manufactures have realized this, and no longer do it that way. Ernie Ball Music Man puts a truss rod wheel adjustment at the bass of the neck which is pure genius!
Once you have found the adjustment and have the cover removed you may want to slide the strings over to make it easier to work. If the strings can stay tight that will help keep tension on the neck where it is so adjusting it will be more accurate.
How to make the adjustment and how much? The purpose here is to straighten out the neck, which will result in low action, better intonation across the fretboard, and an easy playing guitar. I always see guys looking down the neck towards the head-stock shifting it back-and-forth like they are slicing the air with a butter knife. The issue with this is you are seeing more glare than anything and can be easily be mislead by optical illusions. You aren't really checking the action very accurately at all. So here is a simple tip: Hold the guitar like you are playing it, press a string down at the first fret and the last fret allowing the string to be your straight line. Now you can see how much curve is in the neck between your two fingers. The goal is about an index card (I'm showing my age here) of space between a middle fret and the string so lets say the the 12th fret. If it is much more than that the truss rod need tightened. If the string is rubbing on every fret or buzzing when you play then it needs loosened.
If you have determined that the truss rod needs an adjustment simply turn the rod. Ok my job is done. Just kidding. Let me give you a couple more tips...
The standard "Righty, Tighty - Lefty, Losey" applies. However it is good to start with small amounts nobody's trying to win any races here. A quarter to a half turn at a time and then check and tune.
Basic Soldering
This one may not be for the faint of heart. It's an investment both of time and of money. However, this has been proven to be a high risk-high reward situation, but I would advise you to know yourself. If you are in no-way "handy" you may be better off taking your guitar to a pro.
Now simple soldering basics can save you in a number of ways. Let's talk about some of those...
| About The Author Miles Margritz | miles@yandasmusic.com Miles is a certified pedal junkie who also serves as our online customer service representative. He loves talk to shop so give him a call! |